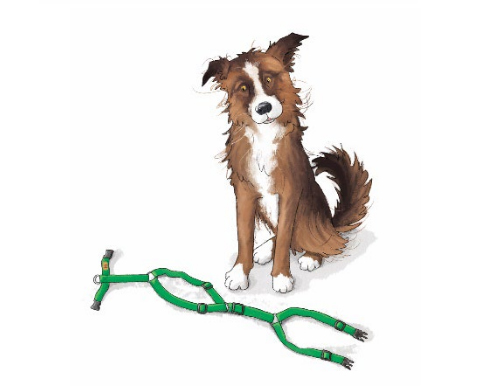
Widen the harness to the maximum at the five adjustment points
2
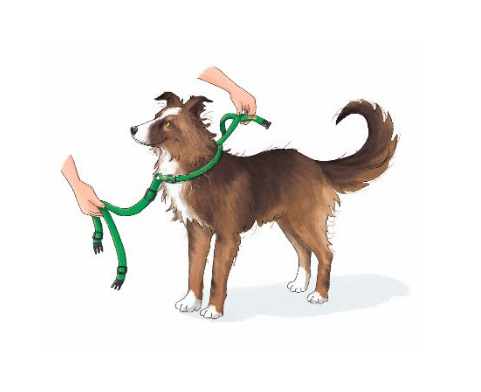
Step 2
Procedure:
Put the harness on the dog by inserting the head between the neck straps and making sure that the H label is on the back, facing upwards
3
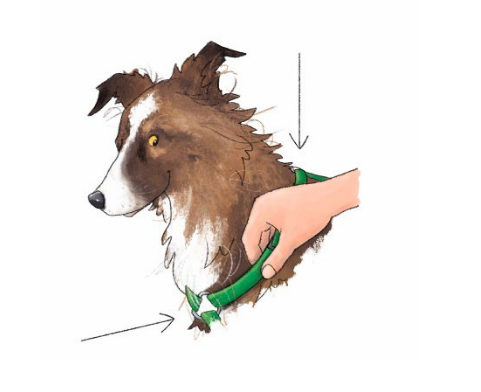
Step 3
Procedure:
Adjust the buckles around the neck so that the front ring is positioned on the sternum and not on the dog's throat. The upper ring must instead be positioned at the base of the neck (nape) between the shoulder blades, without tightening
4
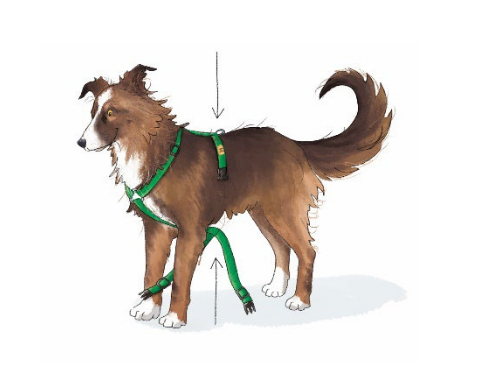
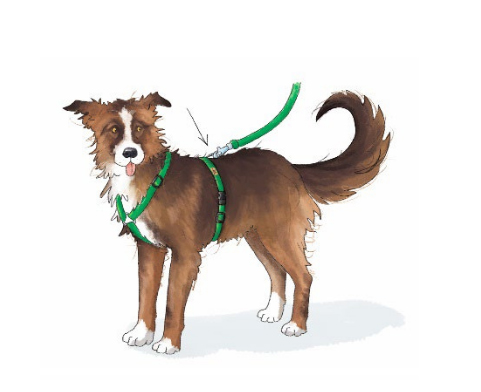
Step 4
Procedure:
Pass the harness between the front legs and adjust the strap on the sternum so that the leash ring is at the T-seam on the lower intersection
5
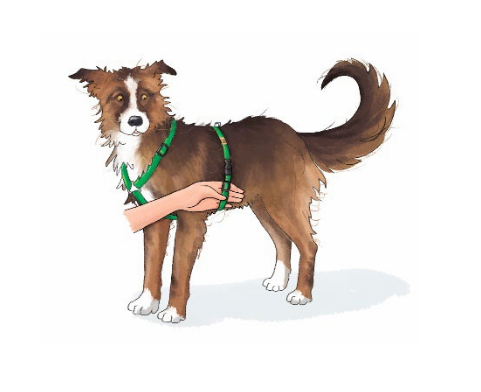
Step 5
Procedure:
Close the clips on both sides and adjust the strap around the chest. Verify that the strap does not rub against the dog's armpit and that there is a space of approximately three or four fingers between it and the strap
6
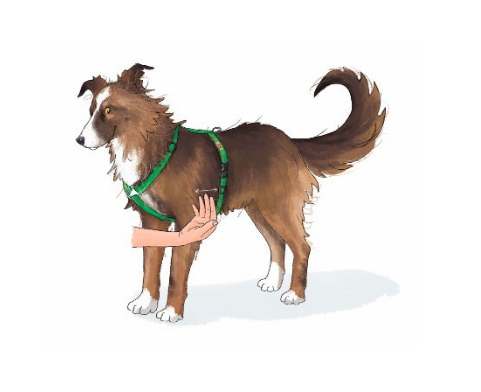
Step 6
Procedure:
Verify that there is space for a hand to pass between the harness and the chest. In this way we will be sure that the harness is not too tight